With Christmas just a month away I would like to share a post with you. It’s one I posted about a year ago which is getting a lot of action lately; it’s becoming one of my most popular posts.
I’ve been enthused by nutcrackers since I was a child.
You know the ones … the kind that resemble little kings, soldiers or policemen that pop up at Christmas time. These figurative wooden doll looking carvings with stern, almost angry faces come in a range of sizes – from a few inches tall to full adult height. I use to refer to them as little men, unbeknown to me until later in life that they were derived from what was once a functional tool.
In 1872 Wilhelm Füchtner, a craftsman, who was known as the “father of the nutcracker”, created and commercially manufactured the nutcracker doll. And ever since the nutcracker has remained a classic custom used as a Christmas decoration all around the world.
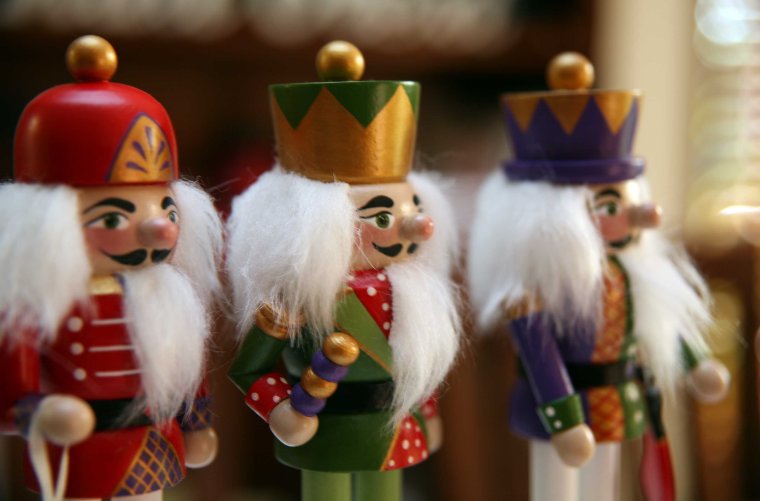
Maybe it’s the statuary strength they portray that I find appealing, or is it their colourful military style uniform that catches my eye?
Never the less I would love to have a house full of them.
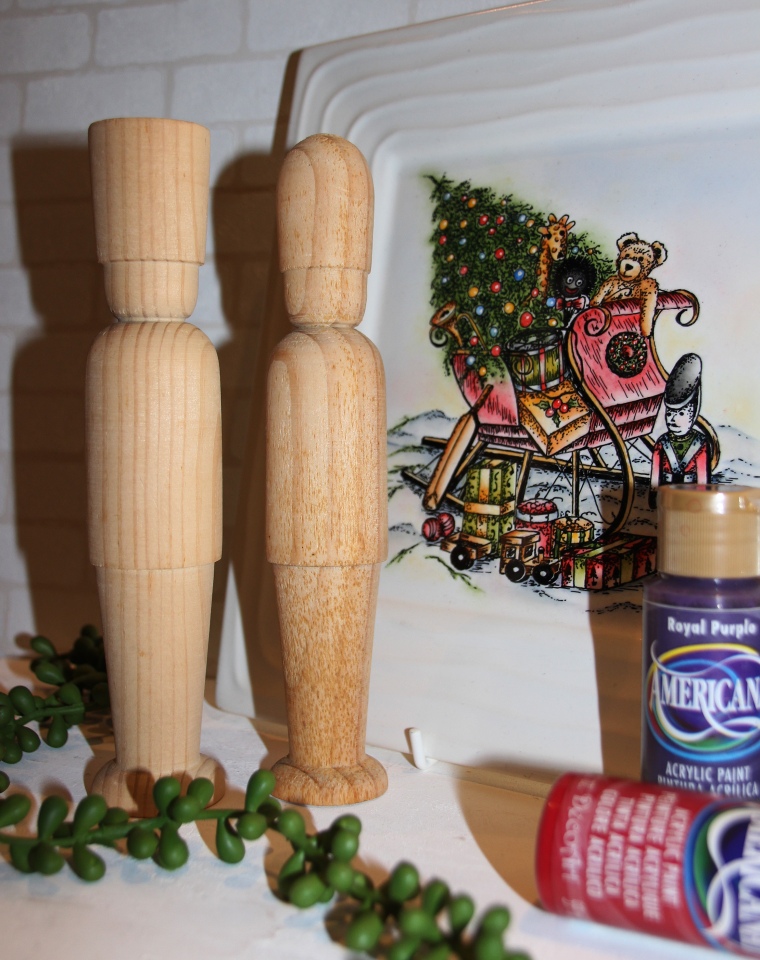
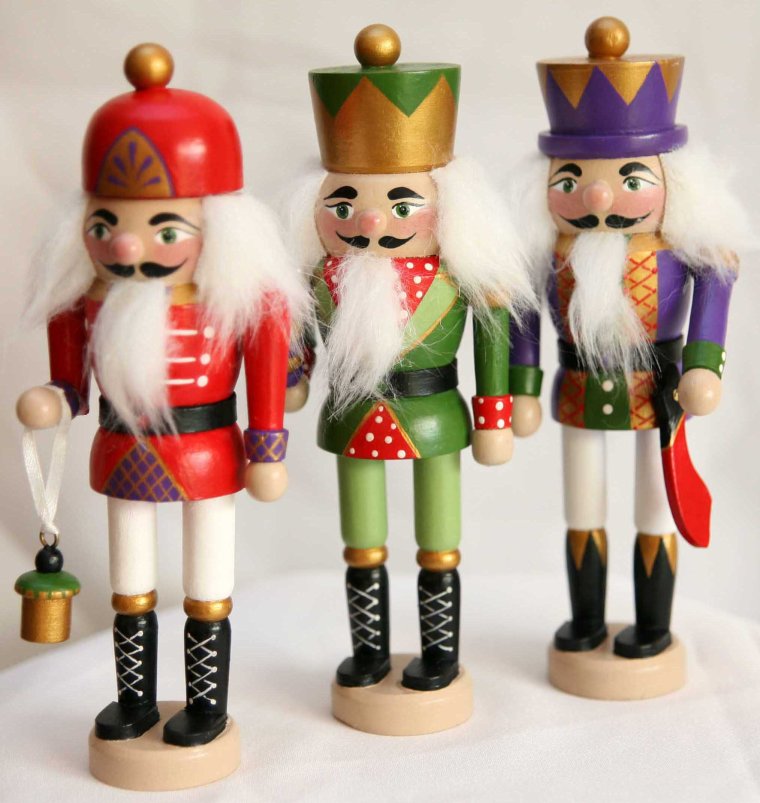
Not long ago I purchased a few little men nutcrackers (unpainted of course)…
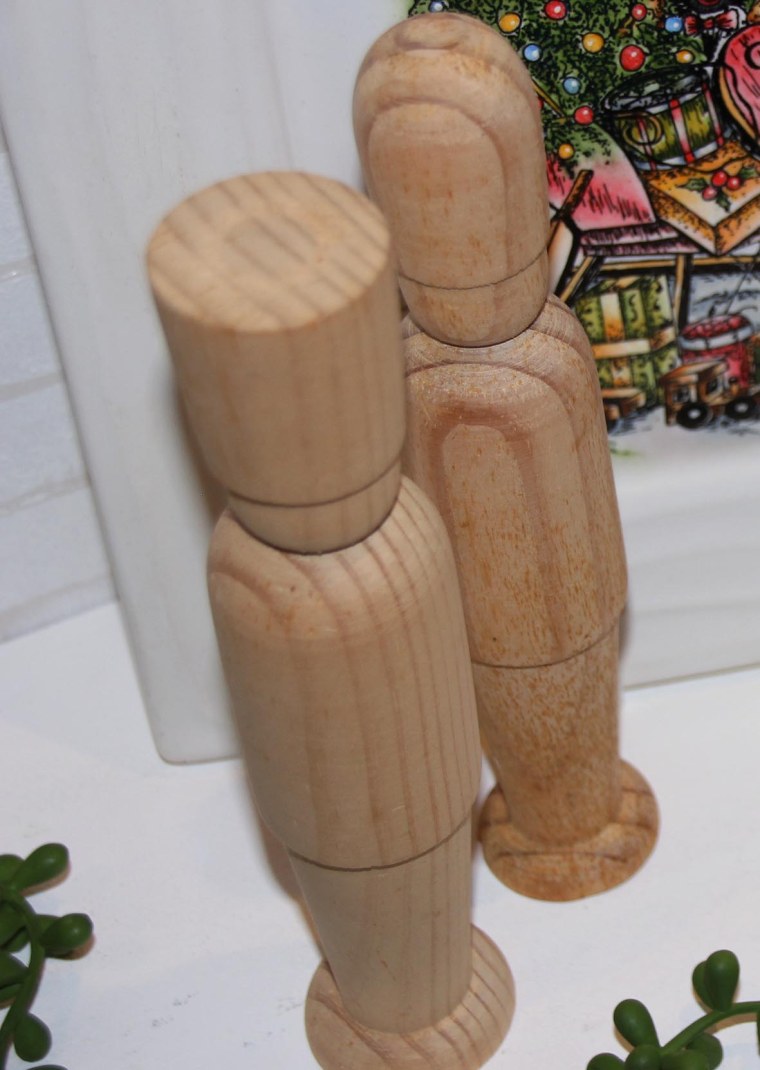
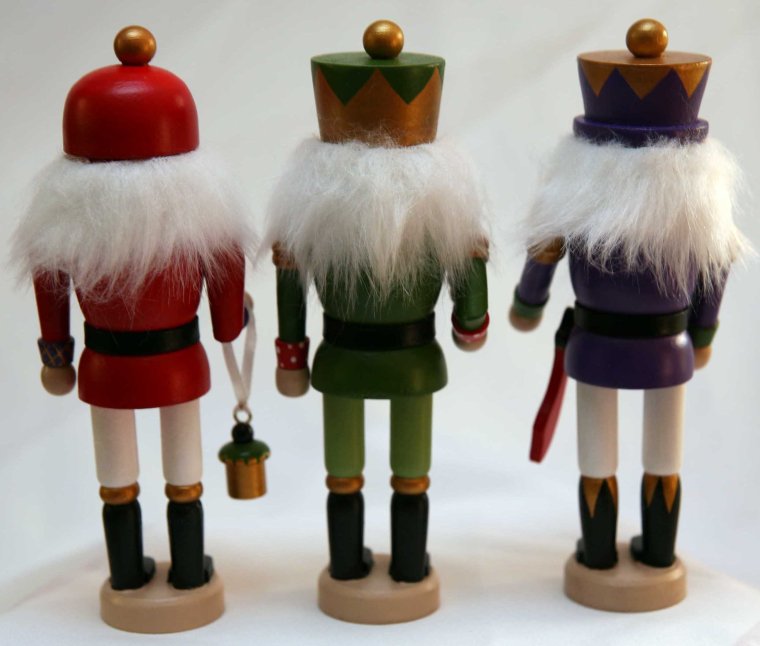
… and I lovingly added life to them.
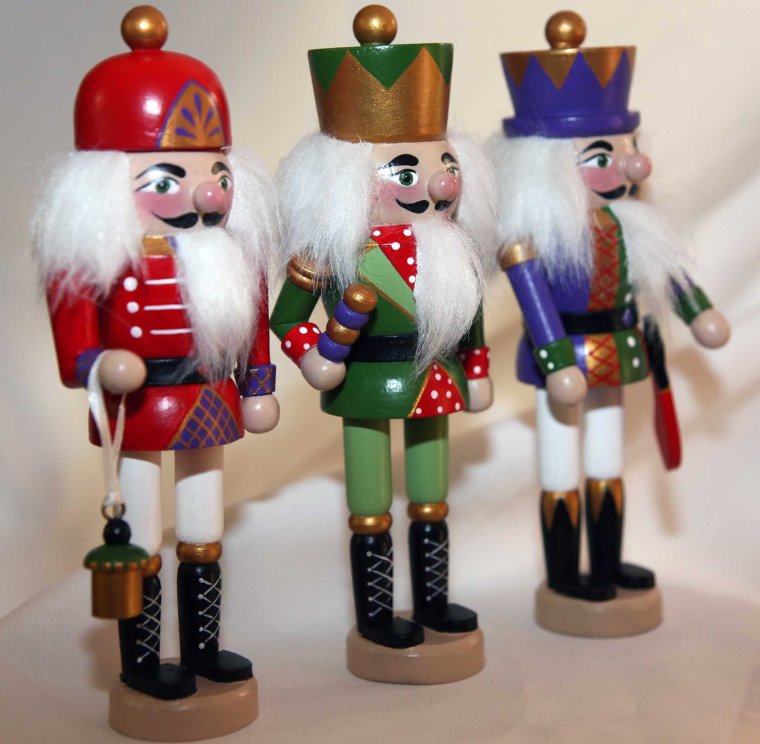
What a joy they were to decorate.
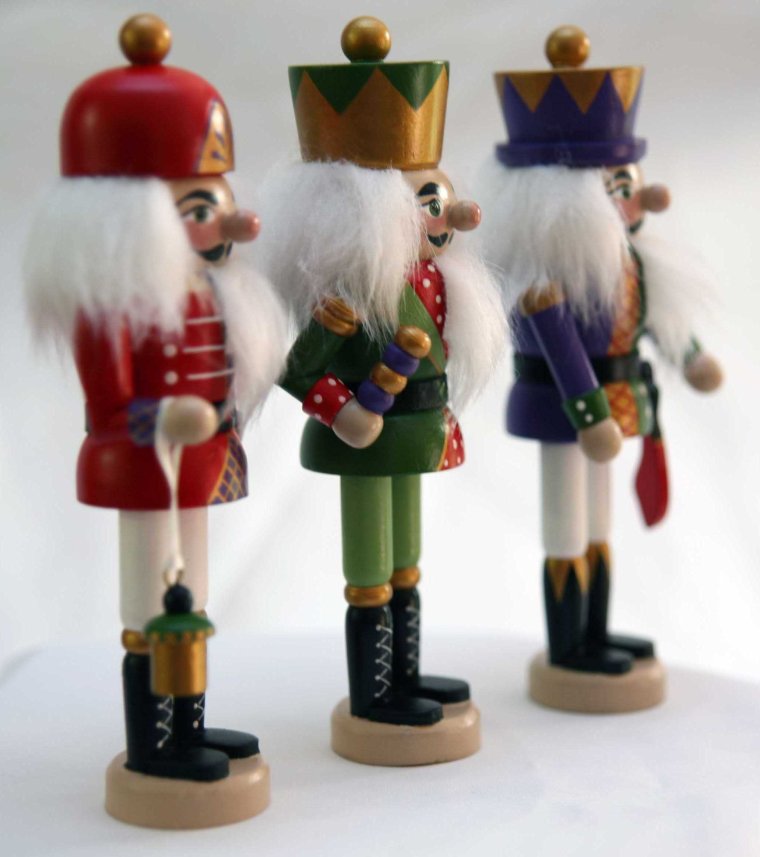
Adding my choice of rich colours was so satisfying…
I respectfully added the traditional composed nature on their faces.
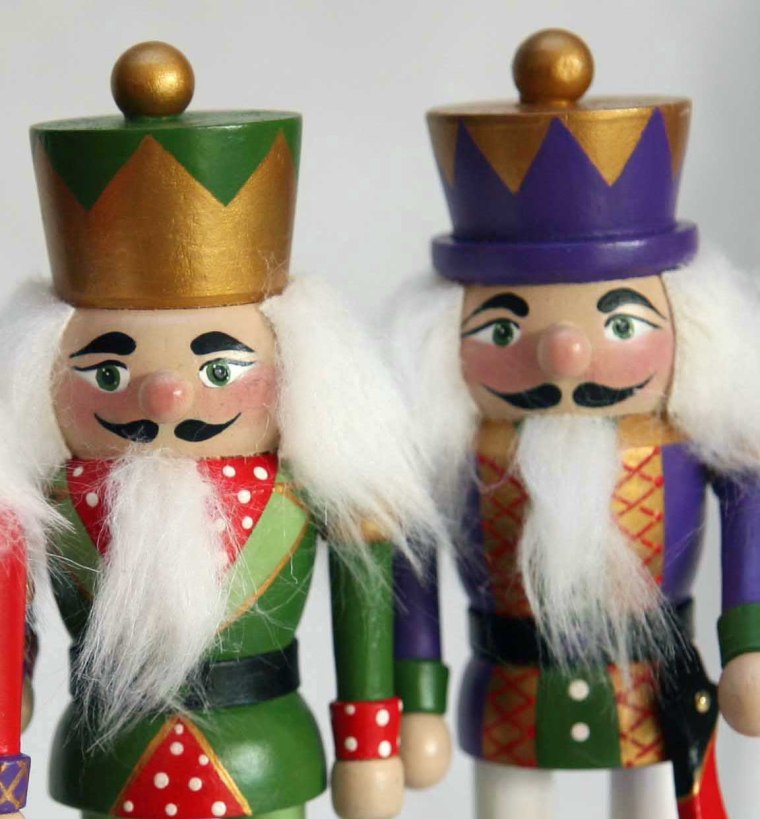
I thought of adding a smile or maybe a smirk … or even a wink ….
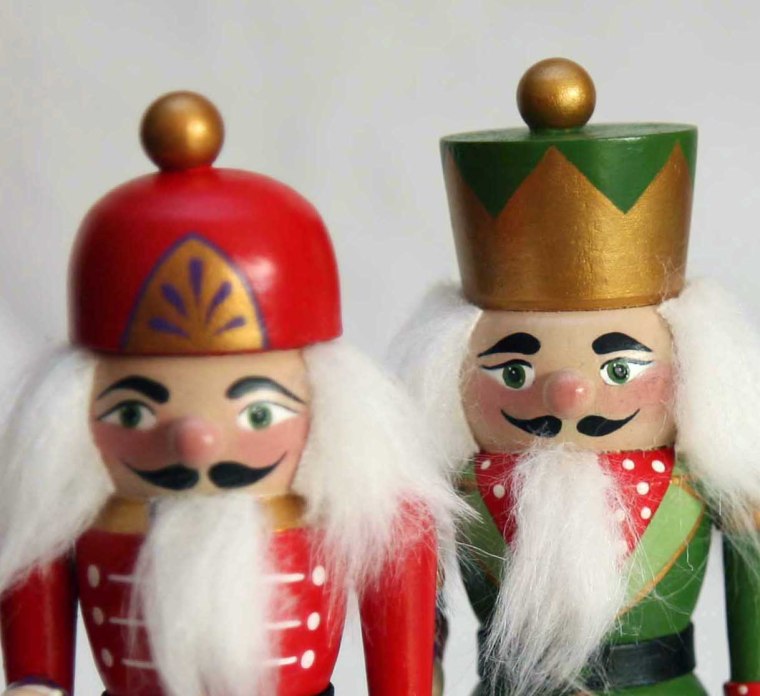
Nahh …I couldn’t do it… I love them just the way they are… :>
Here are some tips on how to paint your very own Christmas Nutcrackers
You can purchase unpainted wooden nutcrackers at selected art and craft shops.
1. Firstly, remove the hair and beard from the nutcrackers by warming the areas up with the hair dryer, this softens the glue so they peel off easily. For best results work on a small section at a time, this way the faux fur comes off in one piece. If you happen to rip it (like I did), don’t worry, you can purchase faux fur from craft stores.
2. Then remove the limbs, you may use the hairdryer again to soften the glue if required. If you can’t remove the limbs don’t force them as you may break them, you can still carefully paint around them while they’re attached.
3. Sand all the pieces using a fine grade sand paper and wipe them clean with a lint free cloth.
4. Prime all surfaces with a coat of Americana Multi-Purpose Sealer
5. I used the following paint colours:
DecoArt Americana Acrylics: Cool White, Flesh Tone, Light Mocha, Royal Purple, Santa Red, Festive Green, Lamp (Ebony) Black.
DecoArt Dazzling Metallics: Emperor’s Gold
6. Mix Light Mocha/Flesh Tone 3.1., this will be used for the skin tone. You can pre-mix this and store in a small airtight container so it won’t dry out. This will come in handy for touch ups if required throughout the project.
7. Now the fun starts! Begin painting. Be creative, make it your own.
8. Apply several coats of Americana DuraClear Varnish – Gloss. Allow to dry thoroughly.
9. Attach the limbs with PVA glue. Let them dry.
10. Next neatly attach the hair and the beard with a small amount of PVA Glue.
__
Happy painting,
Effie

Very impressive, Effie, these are lovely
LikeLiked by 1 person
Thank you Jane! They’re fun to paint too..
LikeLike
Fun post Effie! Painted beautifully and traditional!
LikeLiked by 1 person
Thank you Amy! 🙂
LikeLike
These are quite wonderful, clever you.
LikeLiked by 1 person
Thank you so much Barbara 🙂
LikeLike